

Make a Hanukkah Mobile
Quick Answer
Create a simple, collaborative Hanukkah mobile using basic craft materials like cardboard, embroidery thread, child-friendly plastic needles, a wooden stick, and felt shapes. It helps children learn about the festival while practicing their fine motor skills and hand-eye coordination.
Looking for a simple, creative way to explore Hanukkah with the children? This lovely craft from Sharon at Crafted by Bears is a great one to try together.
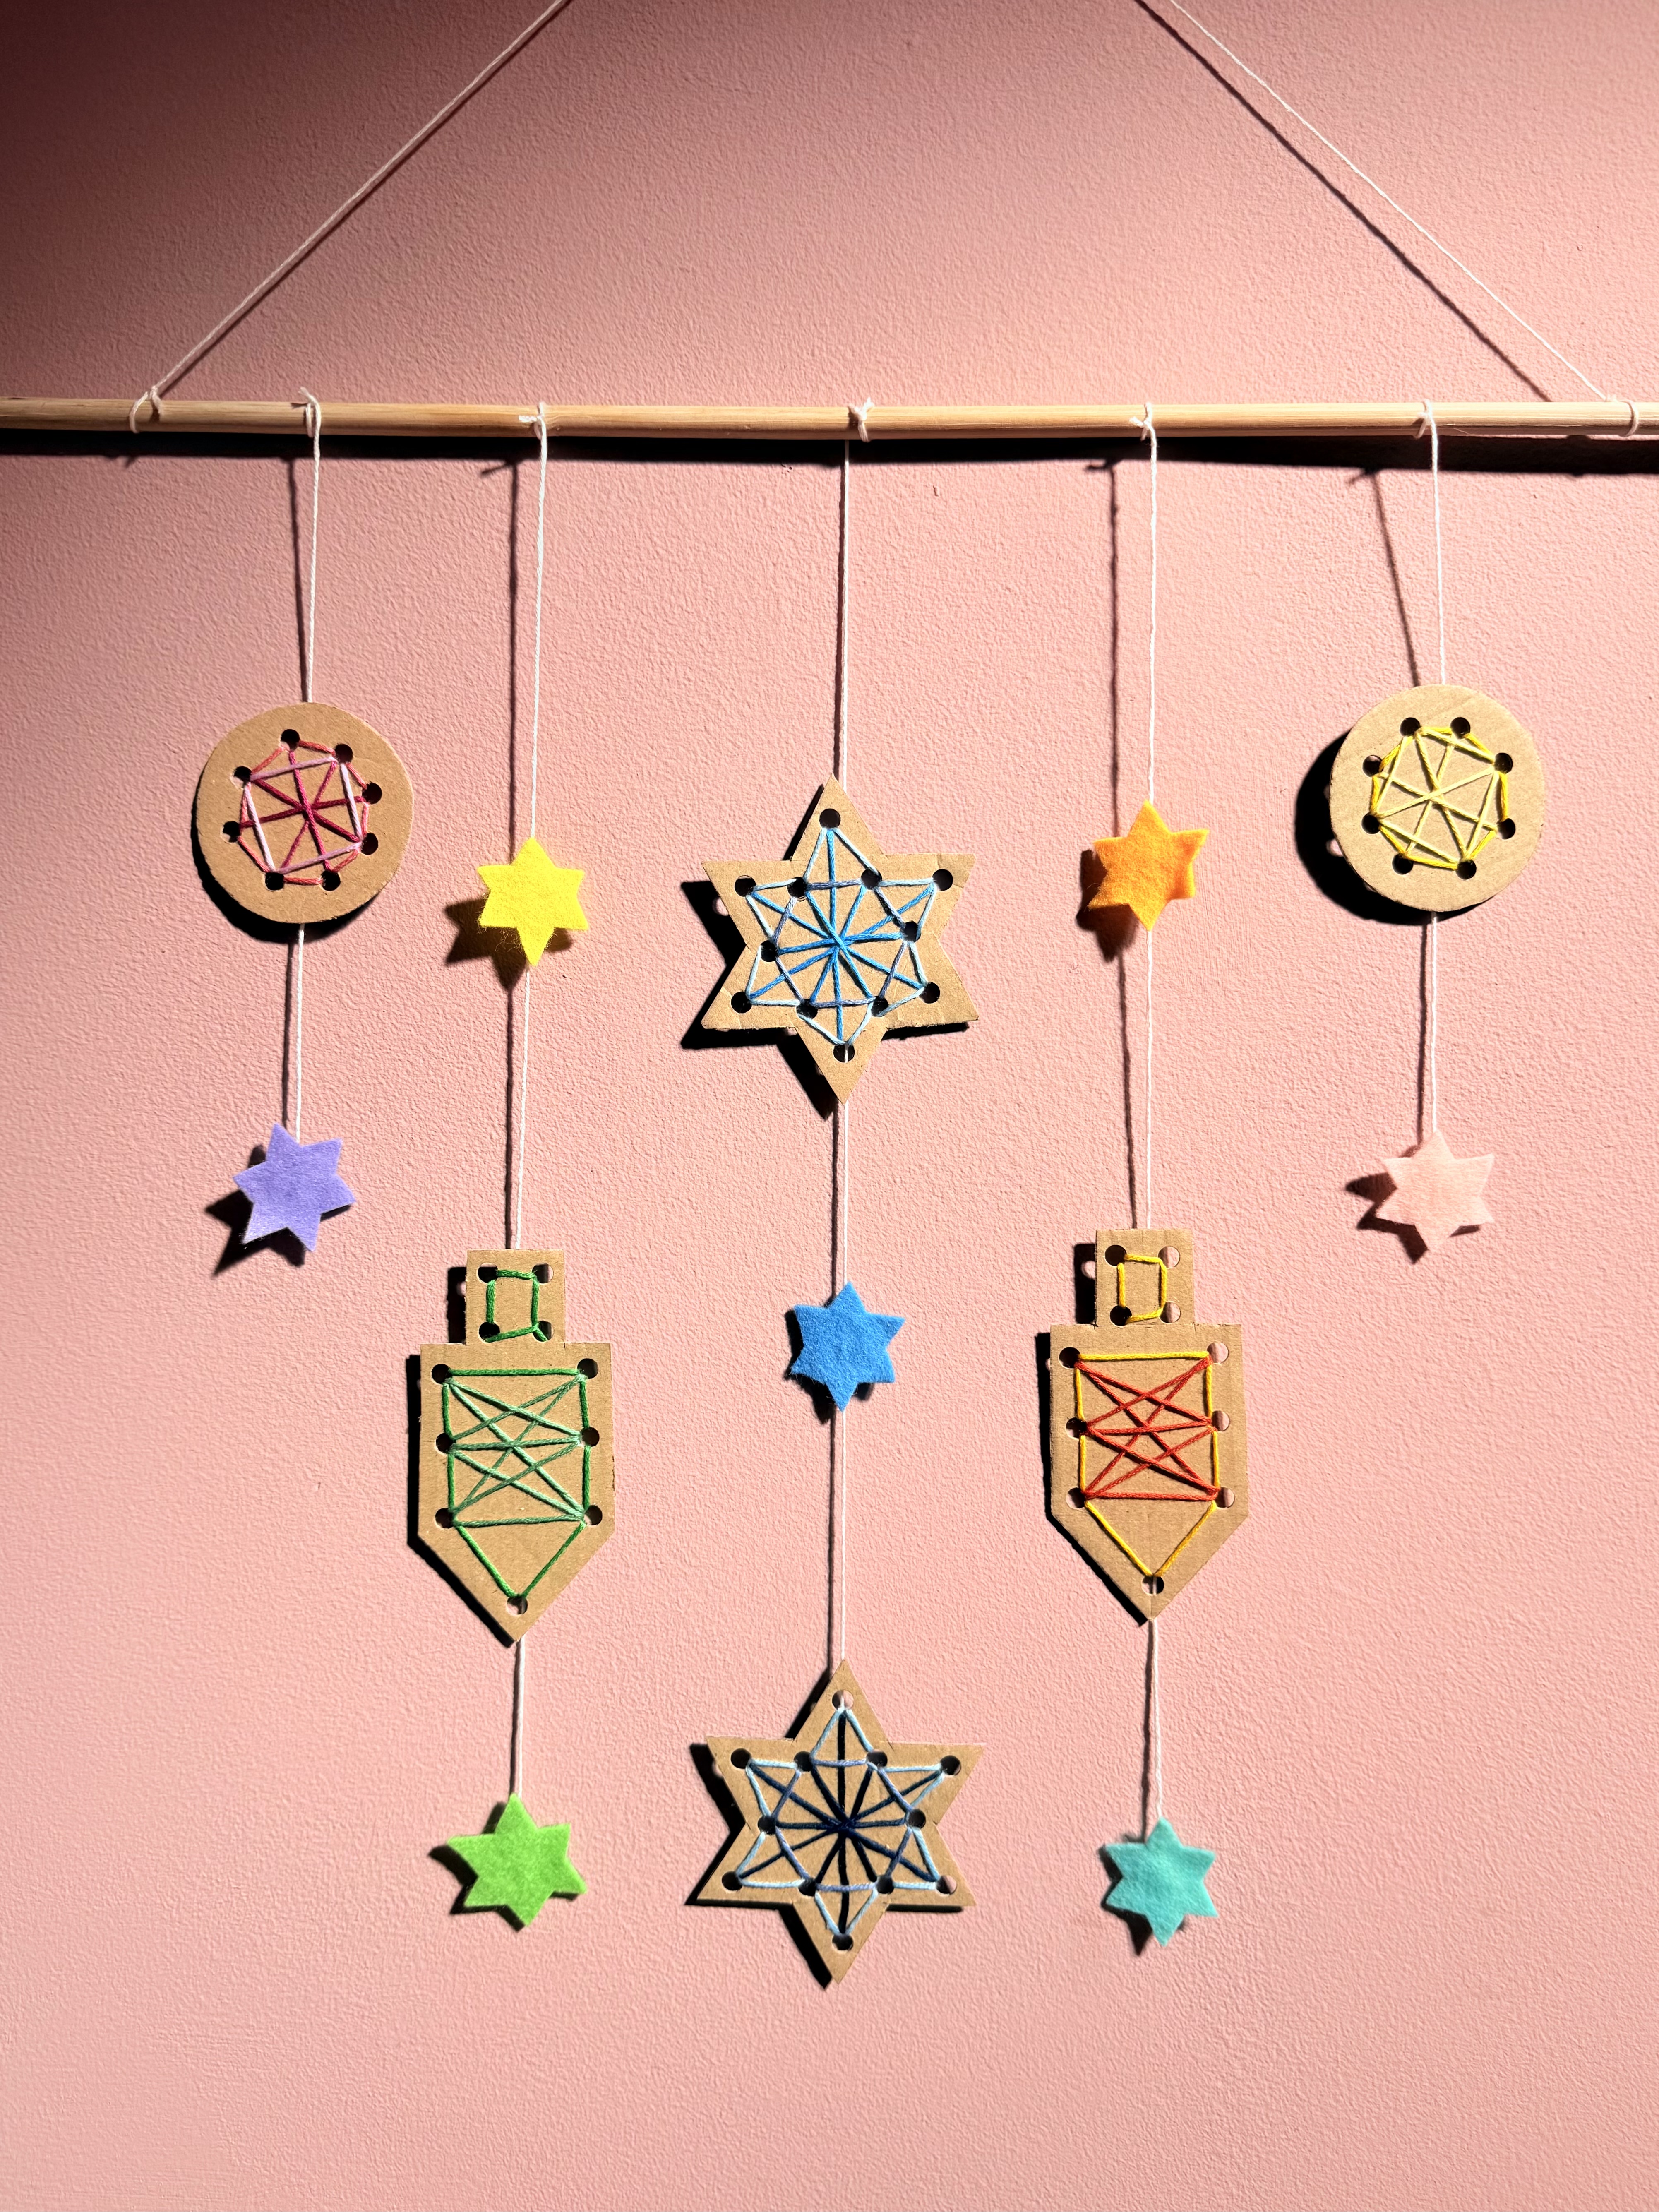
It’s a chance to learn about the festival and bring children’s individual creations together to make something really special for your setting, while giving them plenty of opportunities to practise those all-important fine motor skills along the way.
And the best bit? You don’t need lots of fancy craft materials. With some cardboard, colourful embroidery thread, a few simple shapes and a wooden stick, you can create a beautiful Hanukkah mobile that everyone has had a hand in making.
Getting started
Start by drawing and cutting out some simple Hanukkah-inspired shapes from cardboard – stars, dreidels and coins work really well.
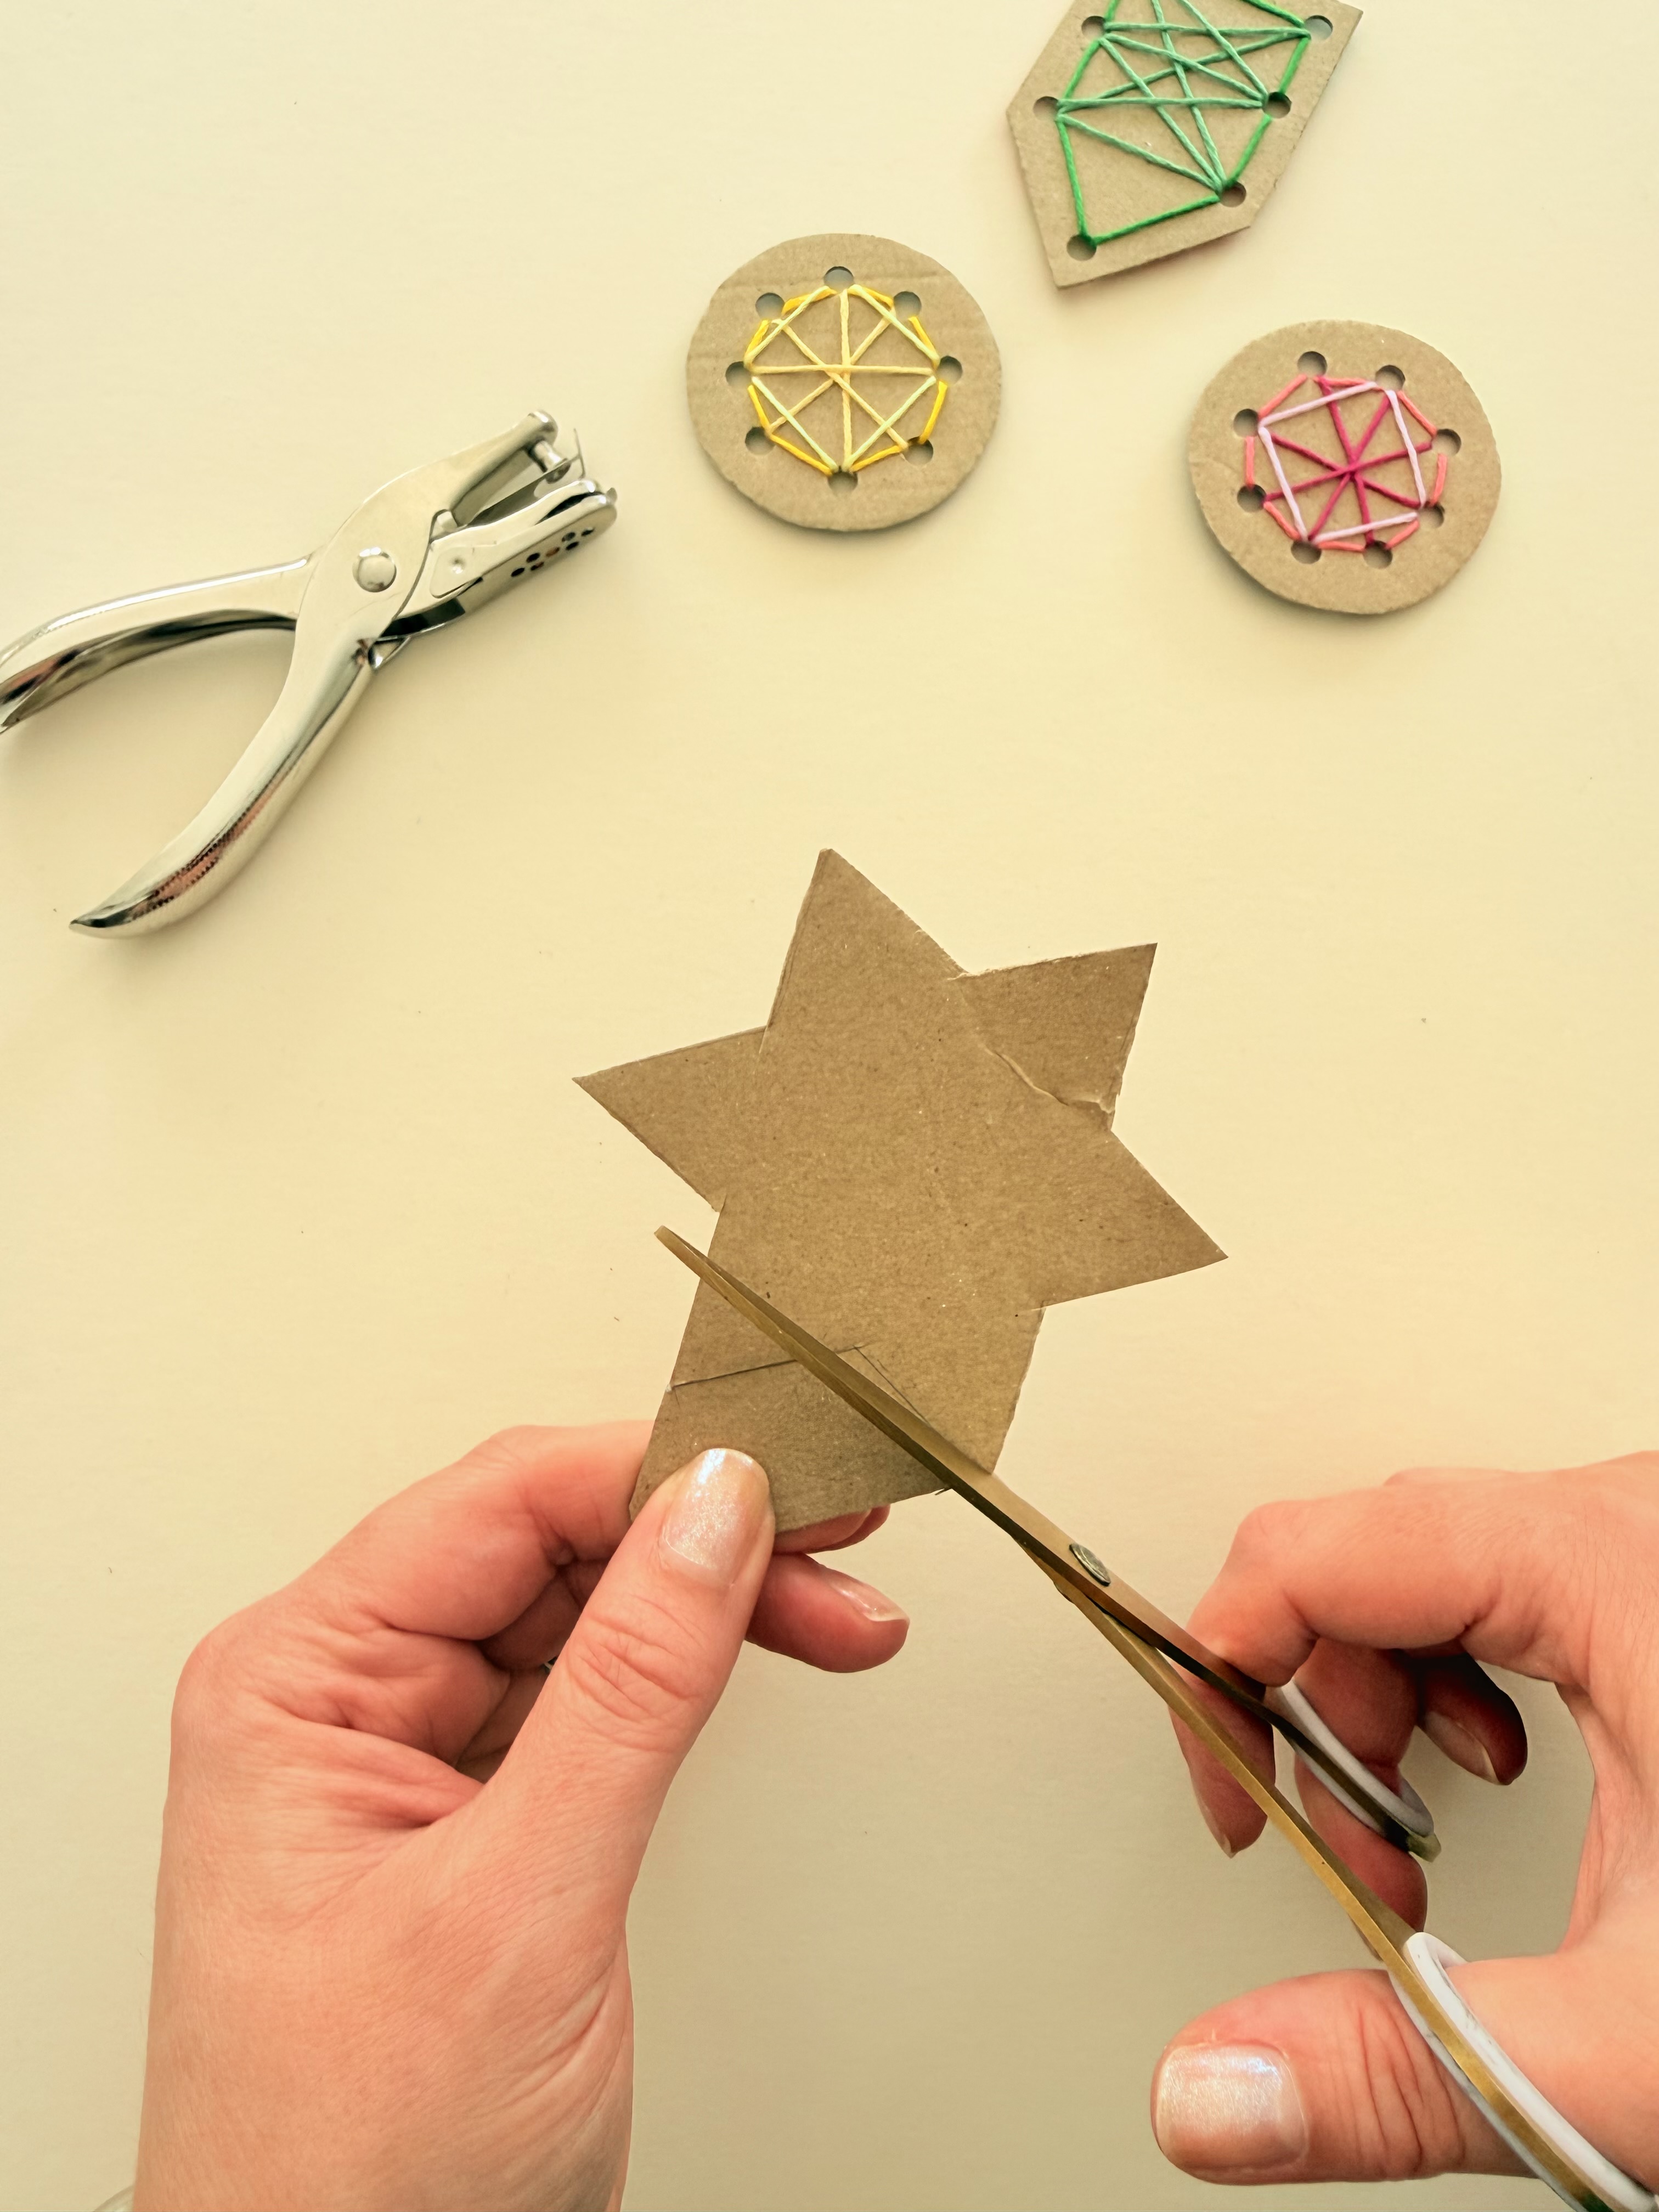
Once you’ve made your first shape, you can use it as a template to make as many as you need. This is a great job for adults to prepare beforehand, leaving the children to get stuck into the creative part.
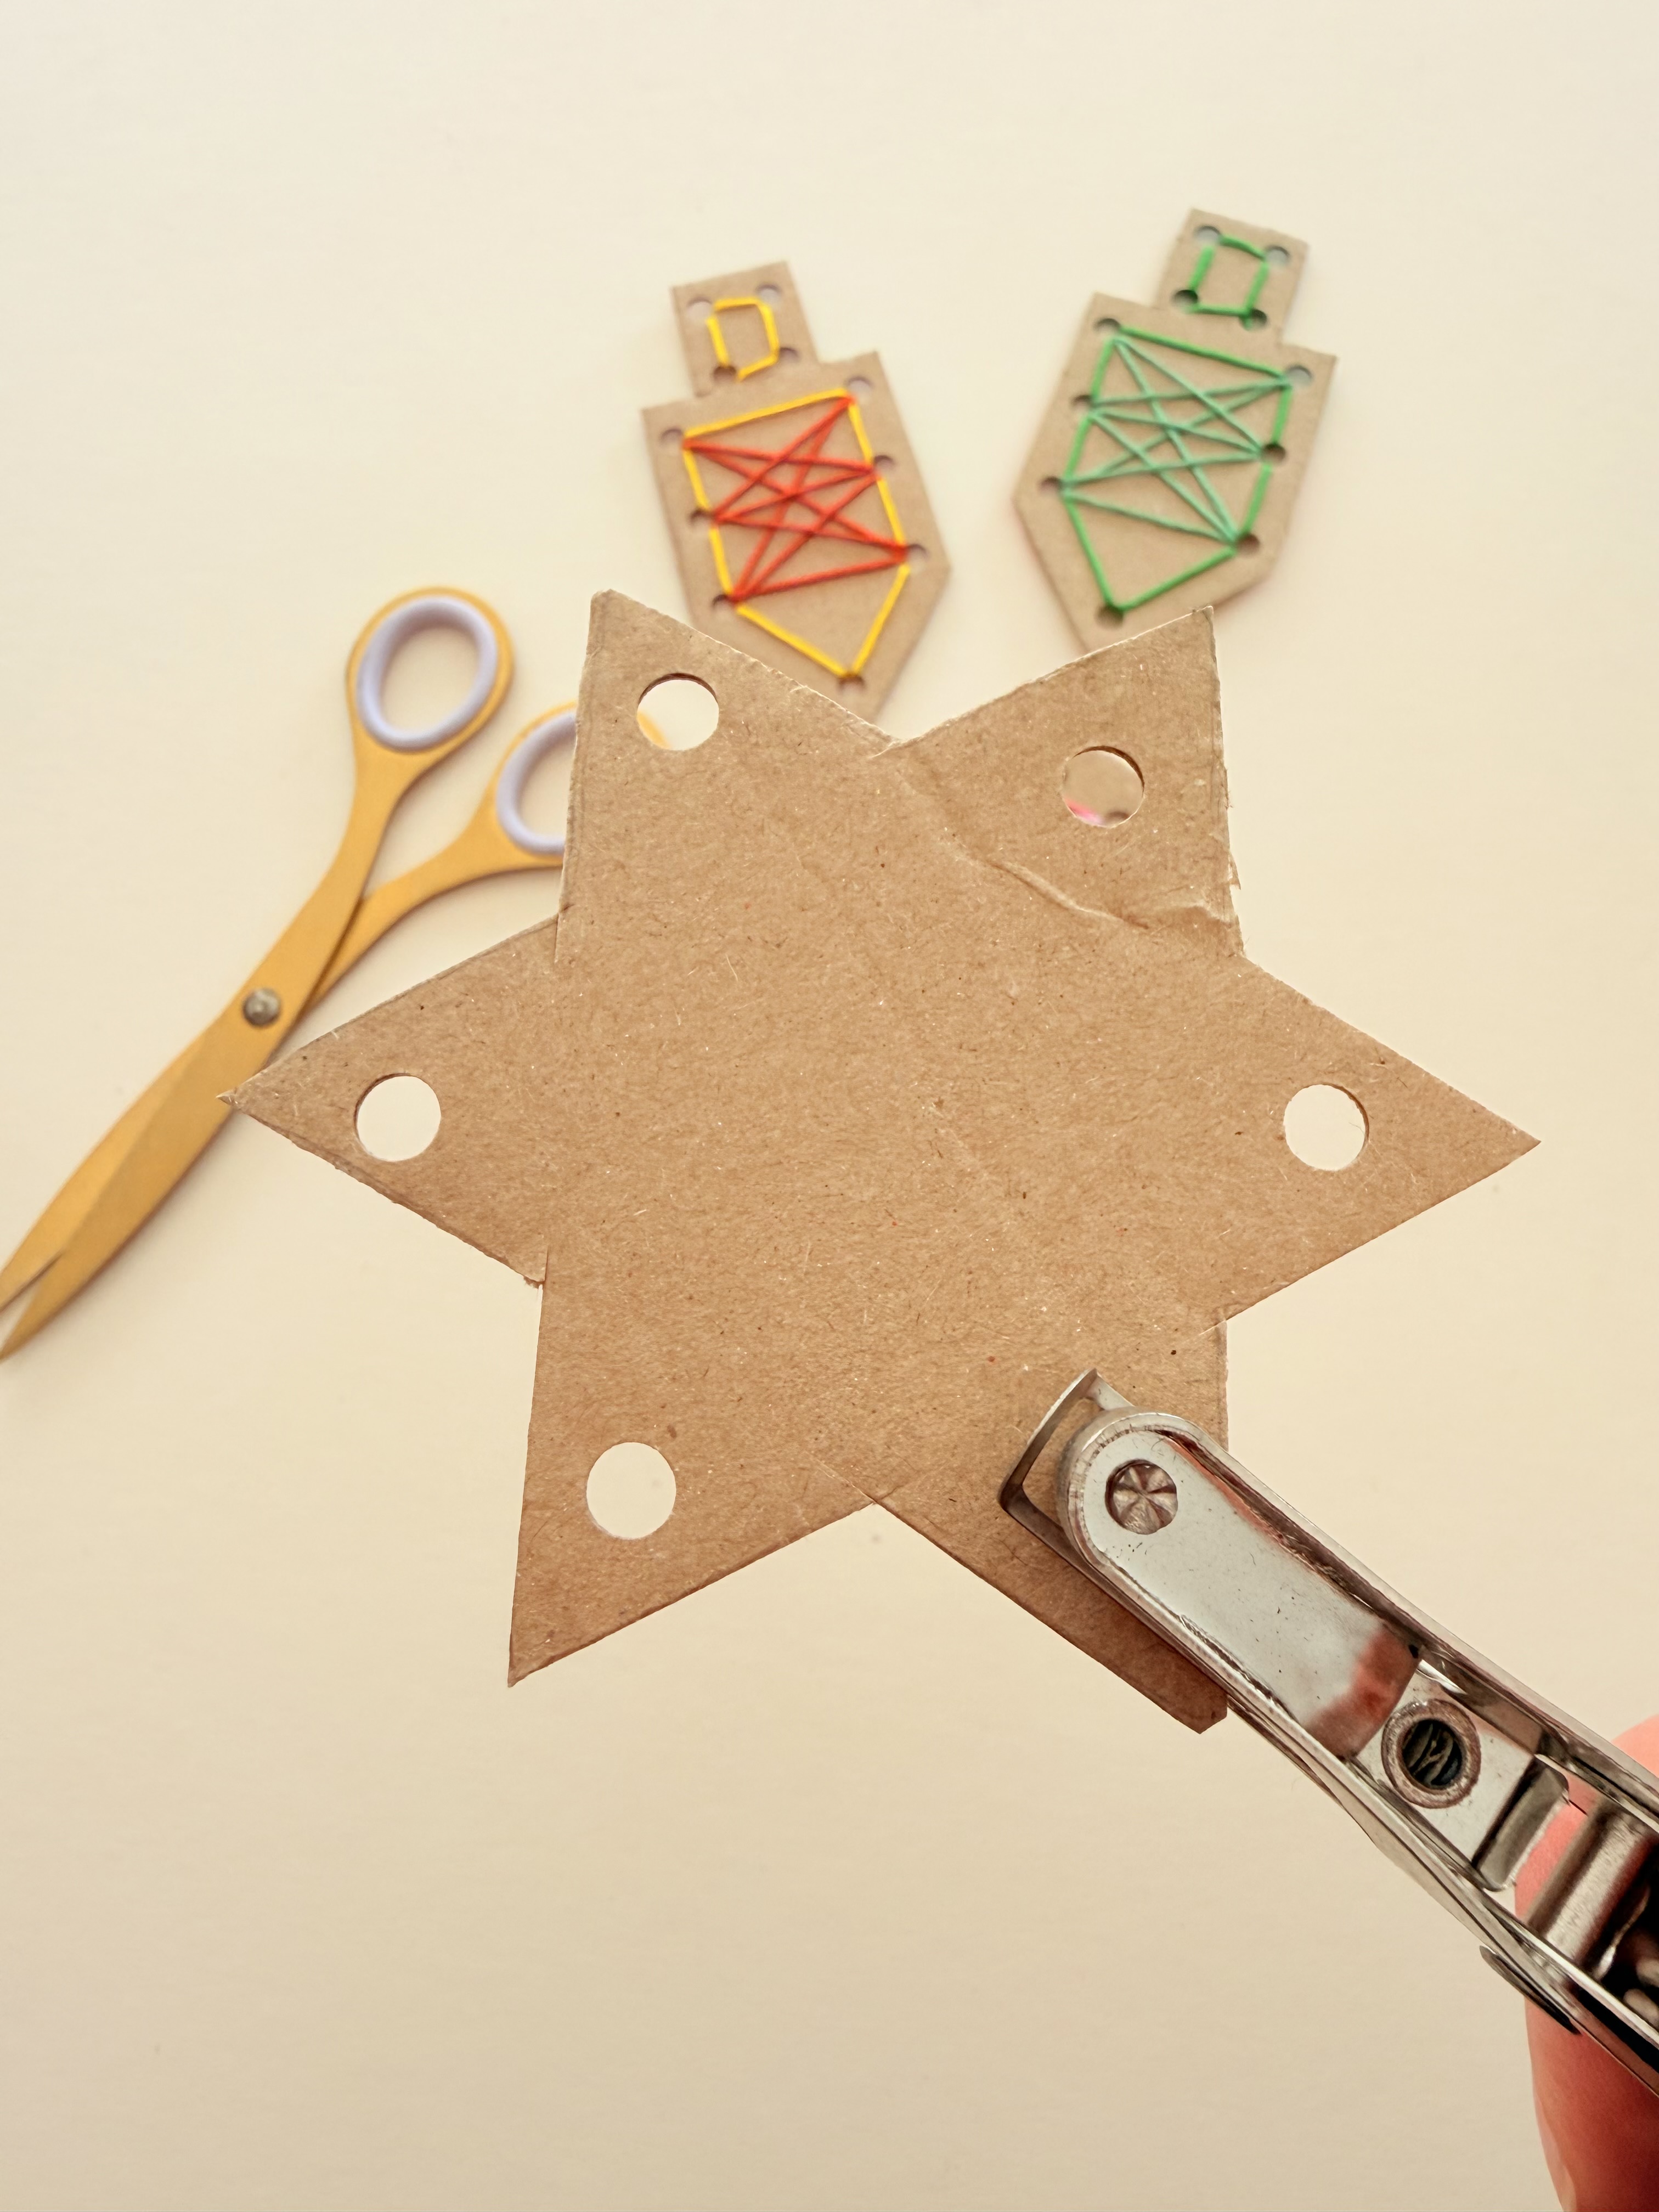
Next, use a hole punch to make holes around each shape.
You can keep the holes nice and simple for younger children, or add more for older children or those who are ready for a bit more of a challenge. The more holes you add, the more intricate the finished design can be.
Time to get threading
Now for the fun part!
Give the children some colourful embroidery thread and child-friendly plastic sewing needles and encourage them to weave the thread in and out of the holes in their cardboard shape.
There’s no right or wrong way to do it. Some children might create a simple pattern with one colour, while others might enjoy using lots of different shades and creating something much more detailed.
It’s a lovely opportunity to slow down and let children explore their own ideas.
They’re also getting plenty of practice with fine motor control, hand-eye coordination and concentration without it feeling like a ‘skills activity’, they’re simply busy creating.
For younger children, you could make fewer, larger holes and use shorter lengths of thread. Children who are more confident can have a go at creating more patterns.
Bringing everyone's creations together
Once all the individual pieces are finished, bring them together to create one big collaborative Hanukkah mobile.
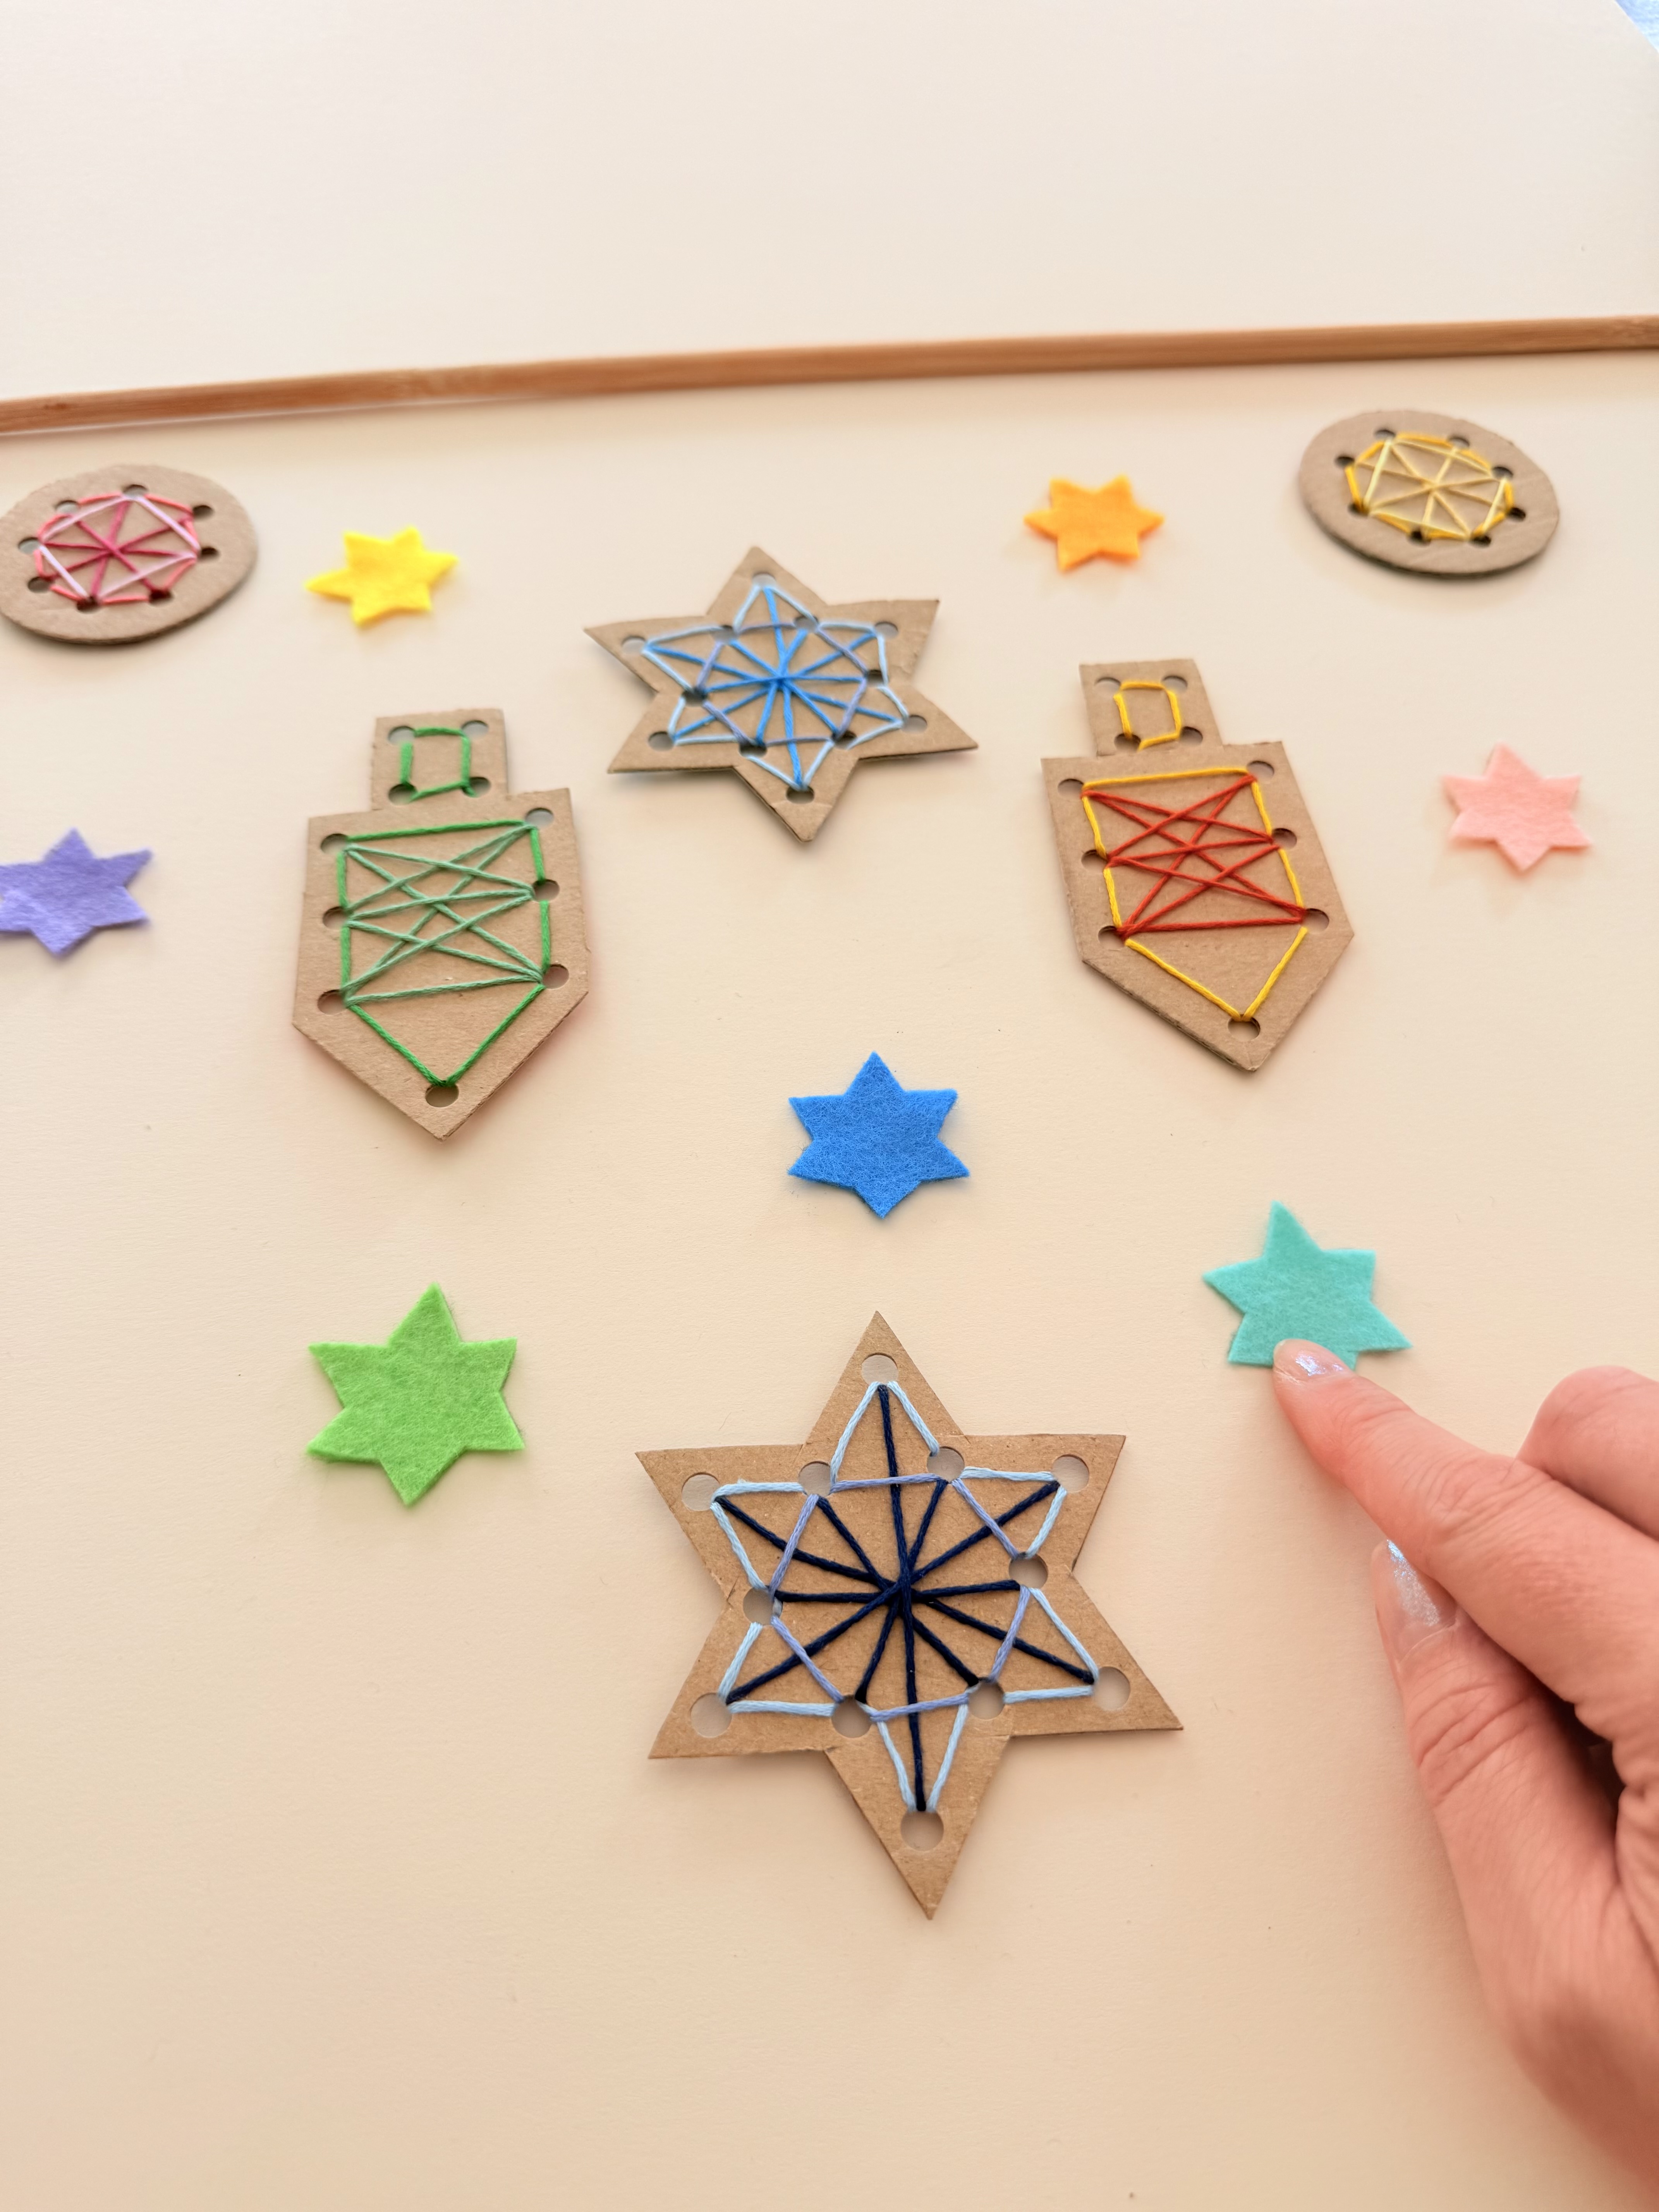
This is what makes the activity particularly lovely. Each child has created something of their own, but all those individual pieces become part of something that belongs to the whole group.
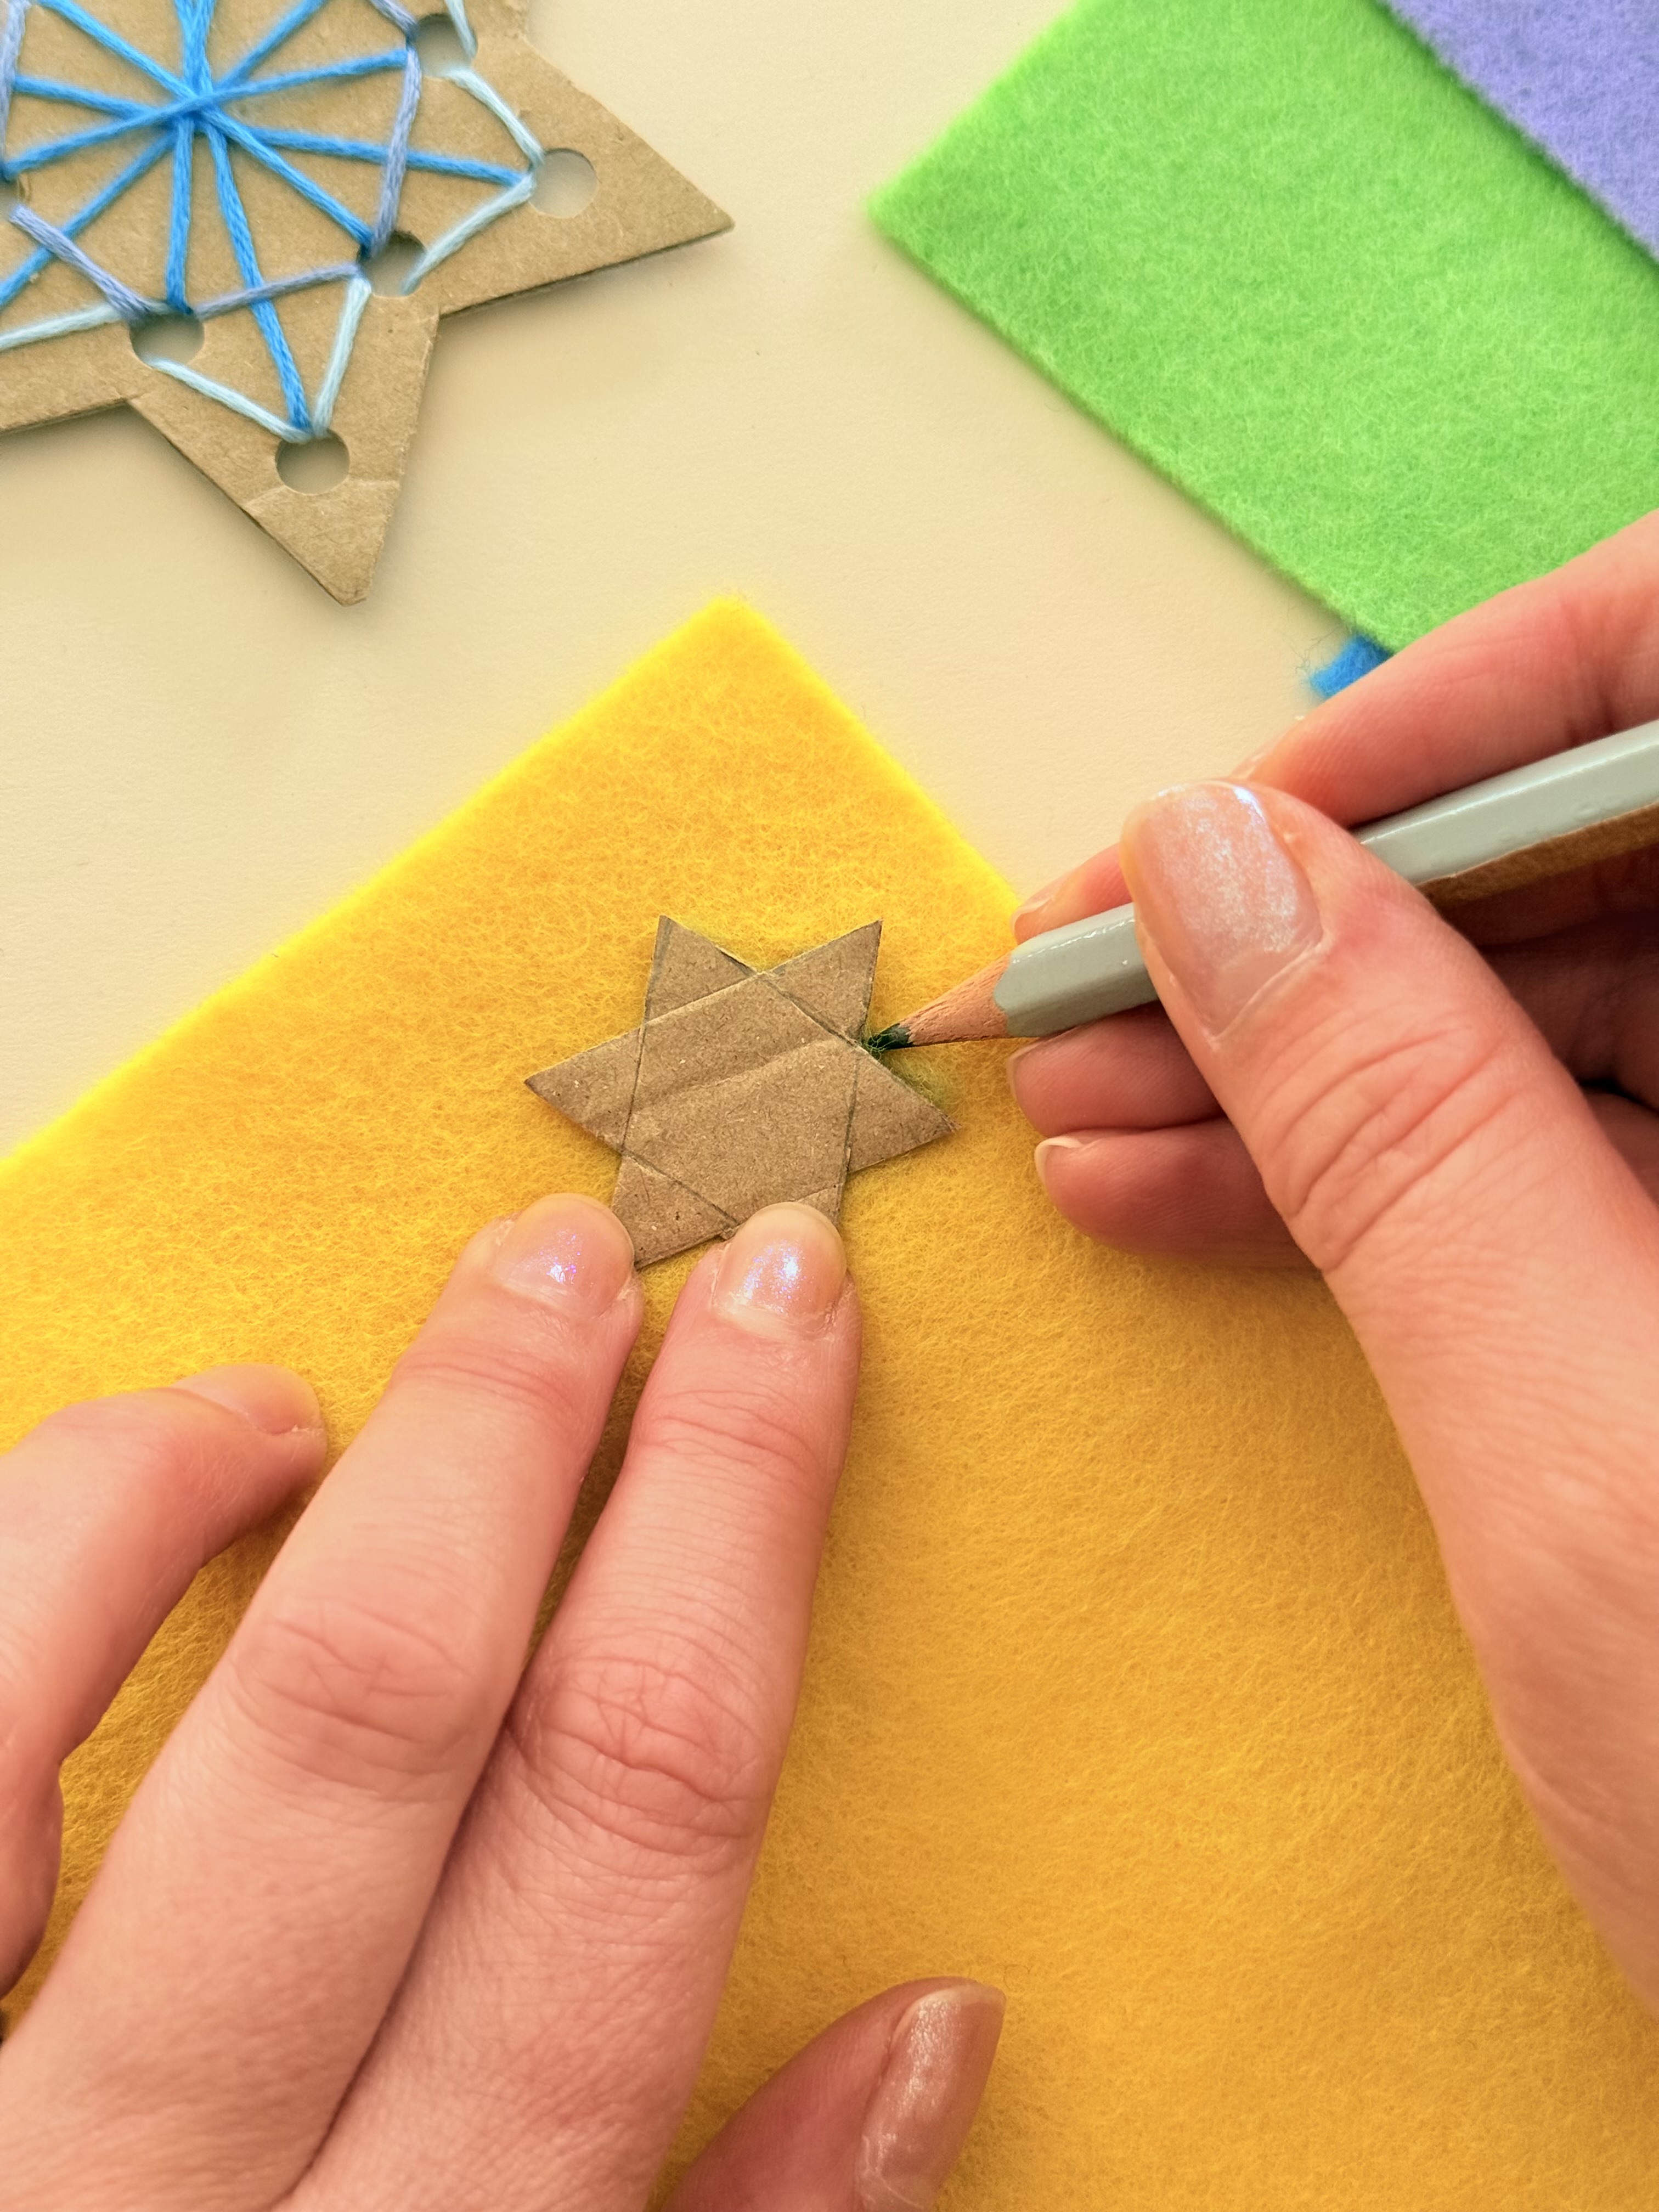
You could also add some smaller felt stars in different shades to bring a little extra colour and texture to the mobile.
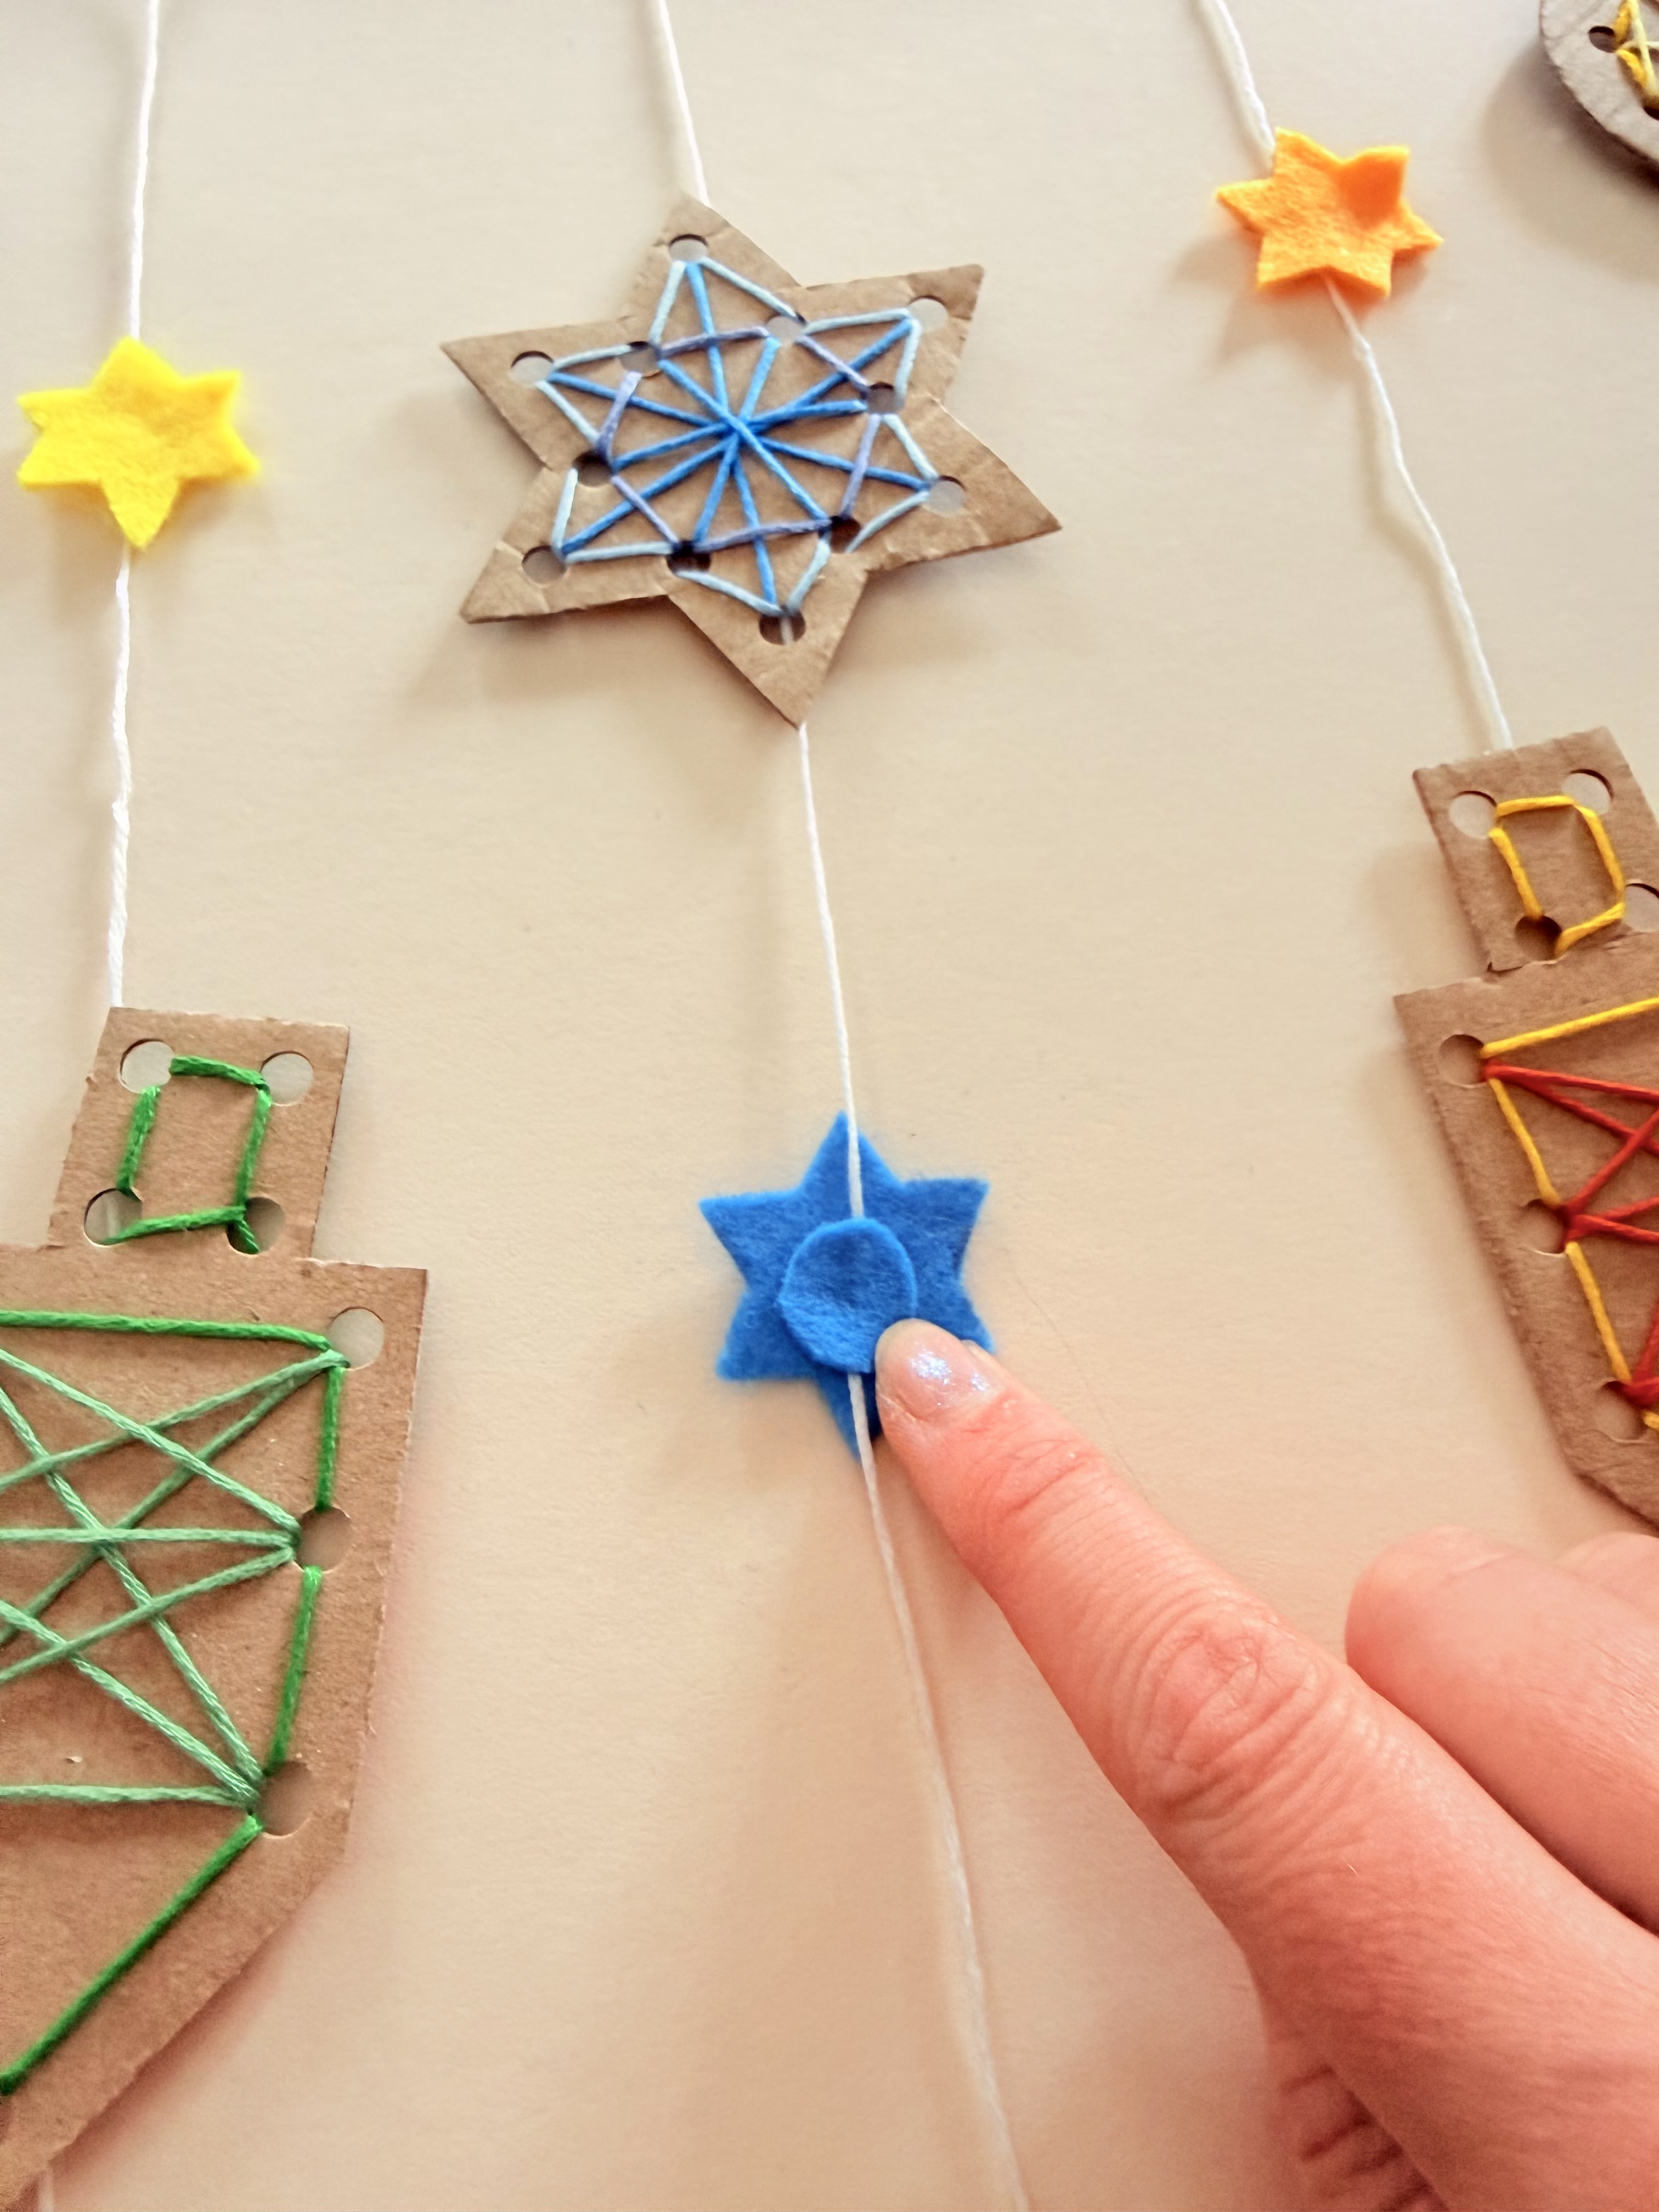
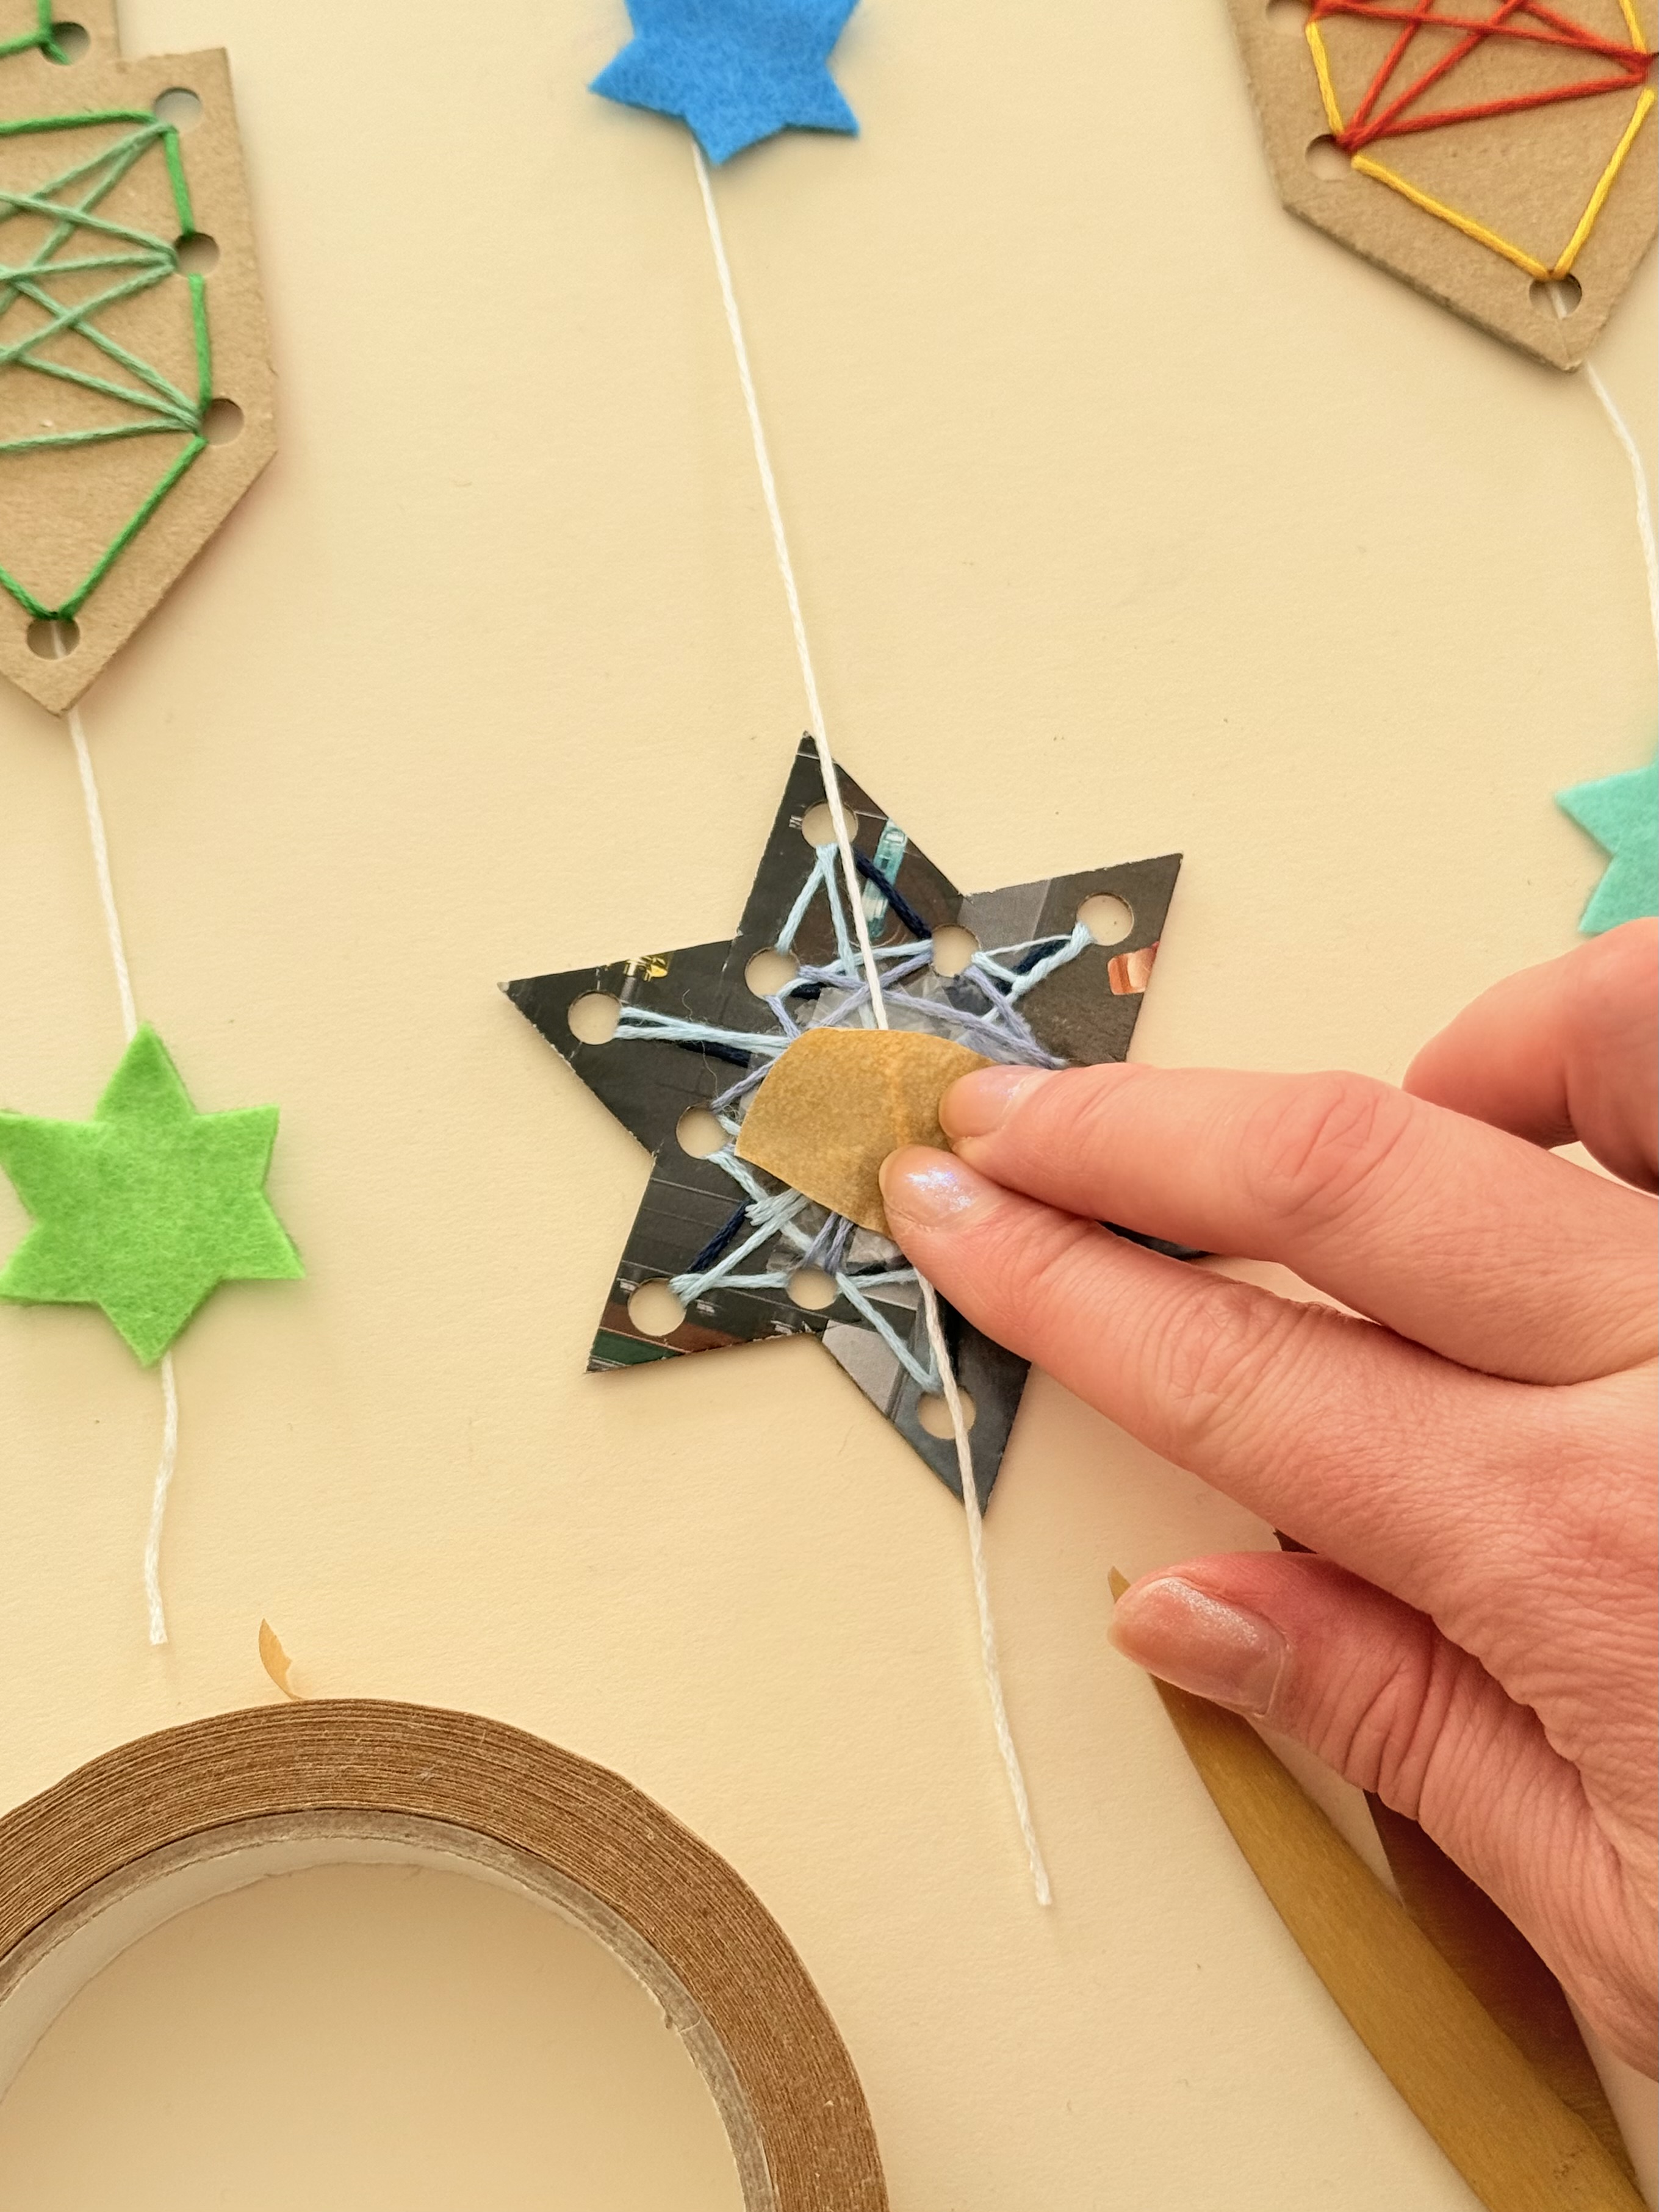
When everything is ready, arrange the pieces in the order you'd like them to hang. Tie lengths of embroidery thread onto a wooden stick, creating different levels for the stars, dreidels and coins.
The cardboard pieces can be attached using eco masking tape, and the felt stars can be added with glue.
Then you're ready to find the perfect spot to hang it!
A little bit of creativity with lots of learning
We love activities like this because they can be as simple or as open-ended as you need them to be.
For some children, the focus might be on threading and developing their fine motor skills. For others, it could be about choosing colours, creating patterns or talking about the shapes they’re making.
And because it’s a collaborative piece, there are lots of opportunities to talk together too. From sharing ideas and materials to noticing how everyone's individual creations look when they’re brought together.
Most importantly, the finished mobile gives the children something they can feel proud of. Their creations become part of your environment and a way to learn and celebrate Hanukkah together.
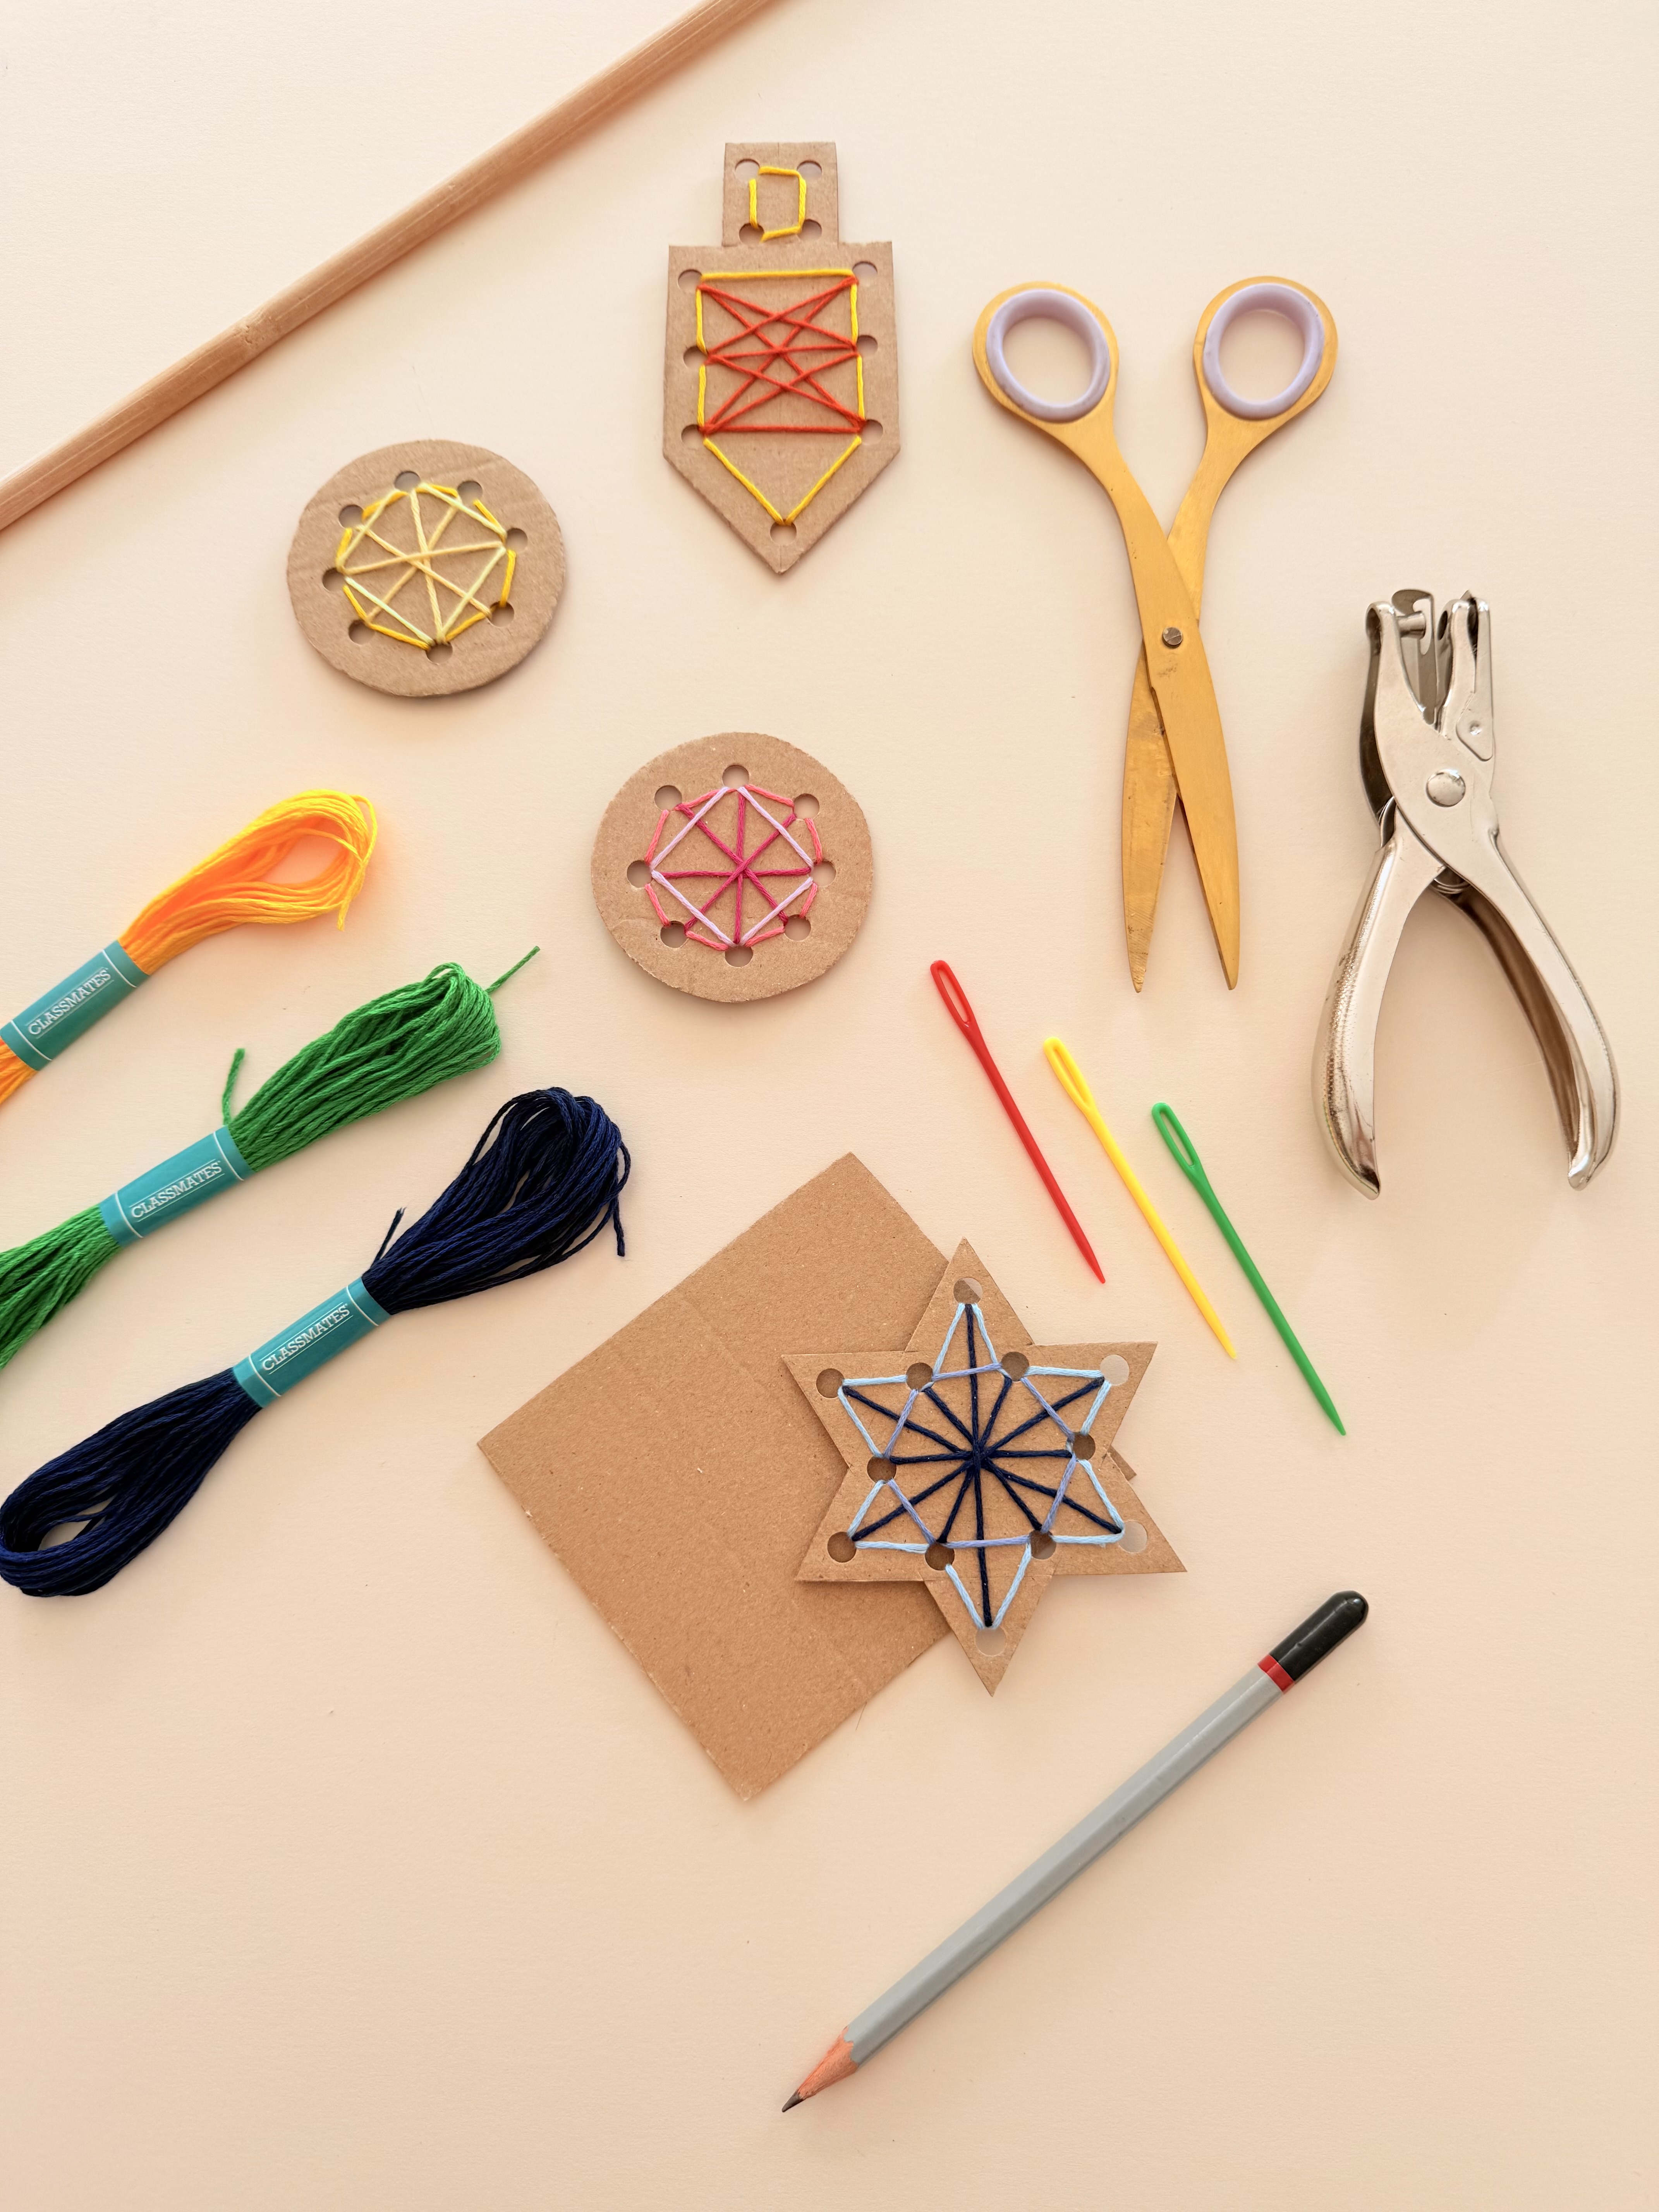
What you'll need
- Cardboard
- Scissors
- Pencil
- Ruler
- Hole punch
- Wooden stick
- Embroidery thread
- Child-friendly plastic sewing needles
- Eco masking tape
- PVA glue
- Felt in a selection of colours
A little tip
Don’t worry about making the shapes or stitching perfect. The beauty of this activity is in seeing all the different designs the children come up with.
You could even leave some of the shapes completely open-ended and see what patterns, colour combinations and ideas the children create for themselves.
Once your mobile is finished, hang it somewhere the children can see it and revisit their creations together. It’s a lovely reminder that when everyone contributes their own little piece, you can create something really special as a group.